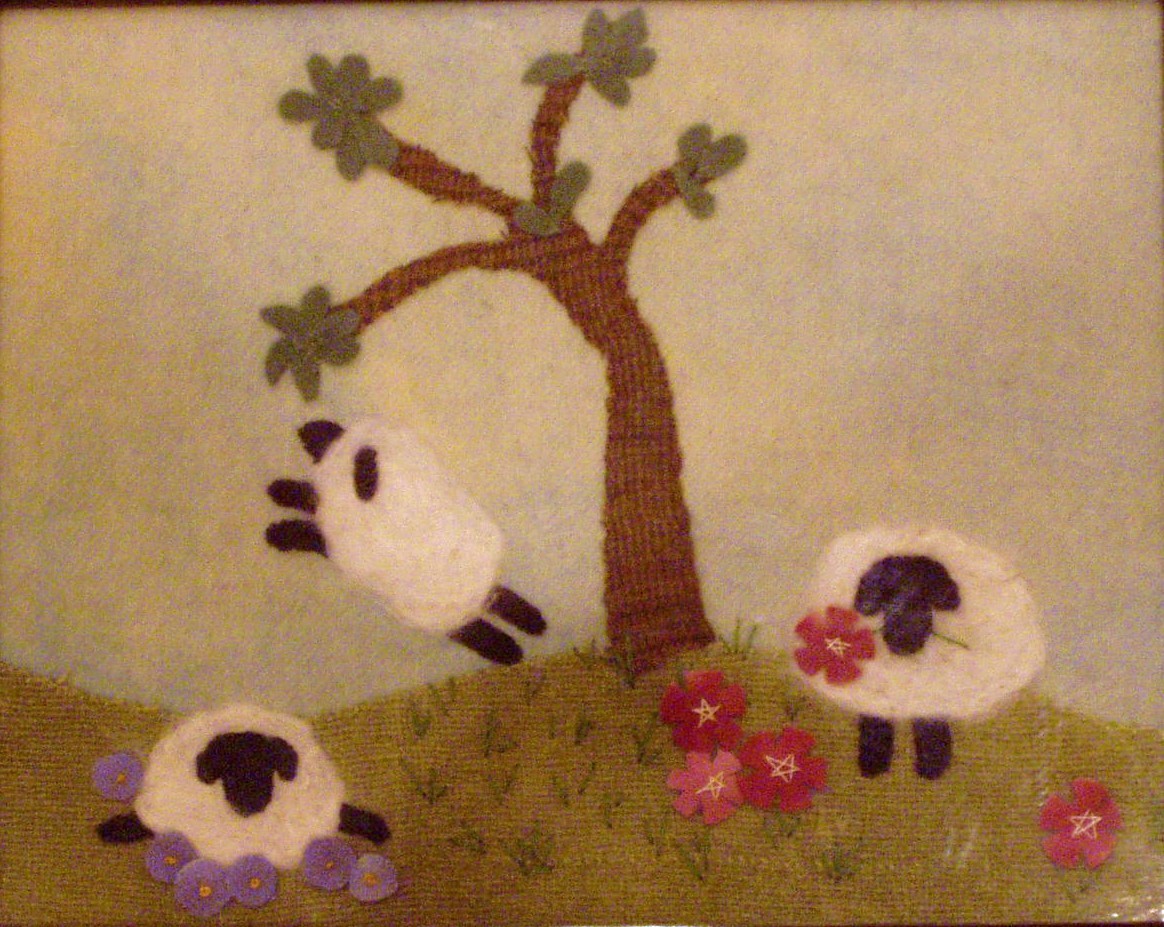
Many years ago, my mother commissioned an artist to complete a silhouette drawing of my two brothers and me. Each was individually beautiful, with their distinct black profile against the light background. Back then, it was all done by hand, no computer images and the drawing software creator probably wasn't even born yet. Oops, there's my age peeking out. Anyway, I've dreamed of one day creating a silhouette of my daughter's profile, but since my drawing abilities are next to none, I've never tackled it. I was flipping through books at the library this week and saw this idea from Alicia Paulson to create a silhouette art quilt. Hey, I just love freezer paper, and since that was the main component in creating a template for the picture to paint, it sounded like something I could do.

So first I took a profile shot with my digital and then printed it on my regular printer to the size needed. I traced the outline onto freezer paper, then cut out the center, leaving the outer part of the pattern intact. Then I ironed the freezer paper to fabric, shiny side down. and applied fabric paint to the pattern's hole, carefully working around the edges. You don't want the edges to curl up, so be gentle and work from the paper's edges towards the center. After letting it dry overnight, I ironed the piece from the back side to set the paint. The kind of fabric paint I had has some puffiness to it too, so once ironed, it added a bit of dimension which turned out pretty cool. The fabrics are all torn and layered a bit skewed, and then onto a piece of wool felt that has been cut with pinking shears.
That's it. Super easy, and it looks just wonderful on my wall. Best of all, my daughter loved it too, as some day it will go to her as a memory of a time gone by.
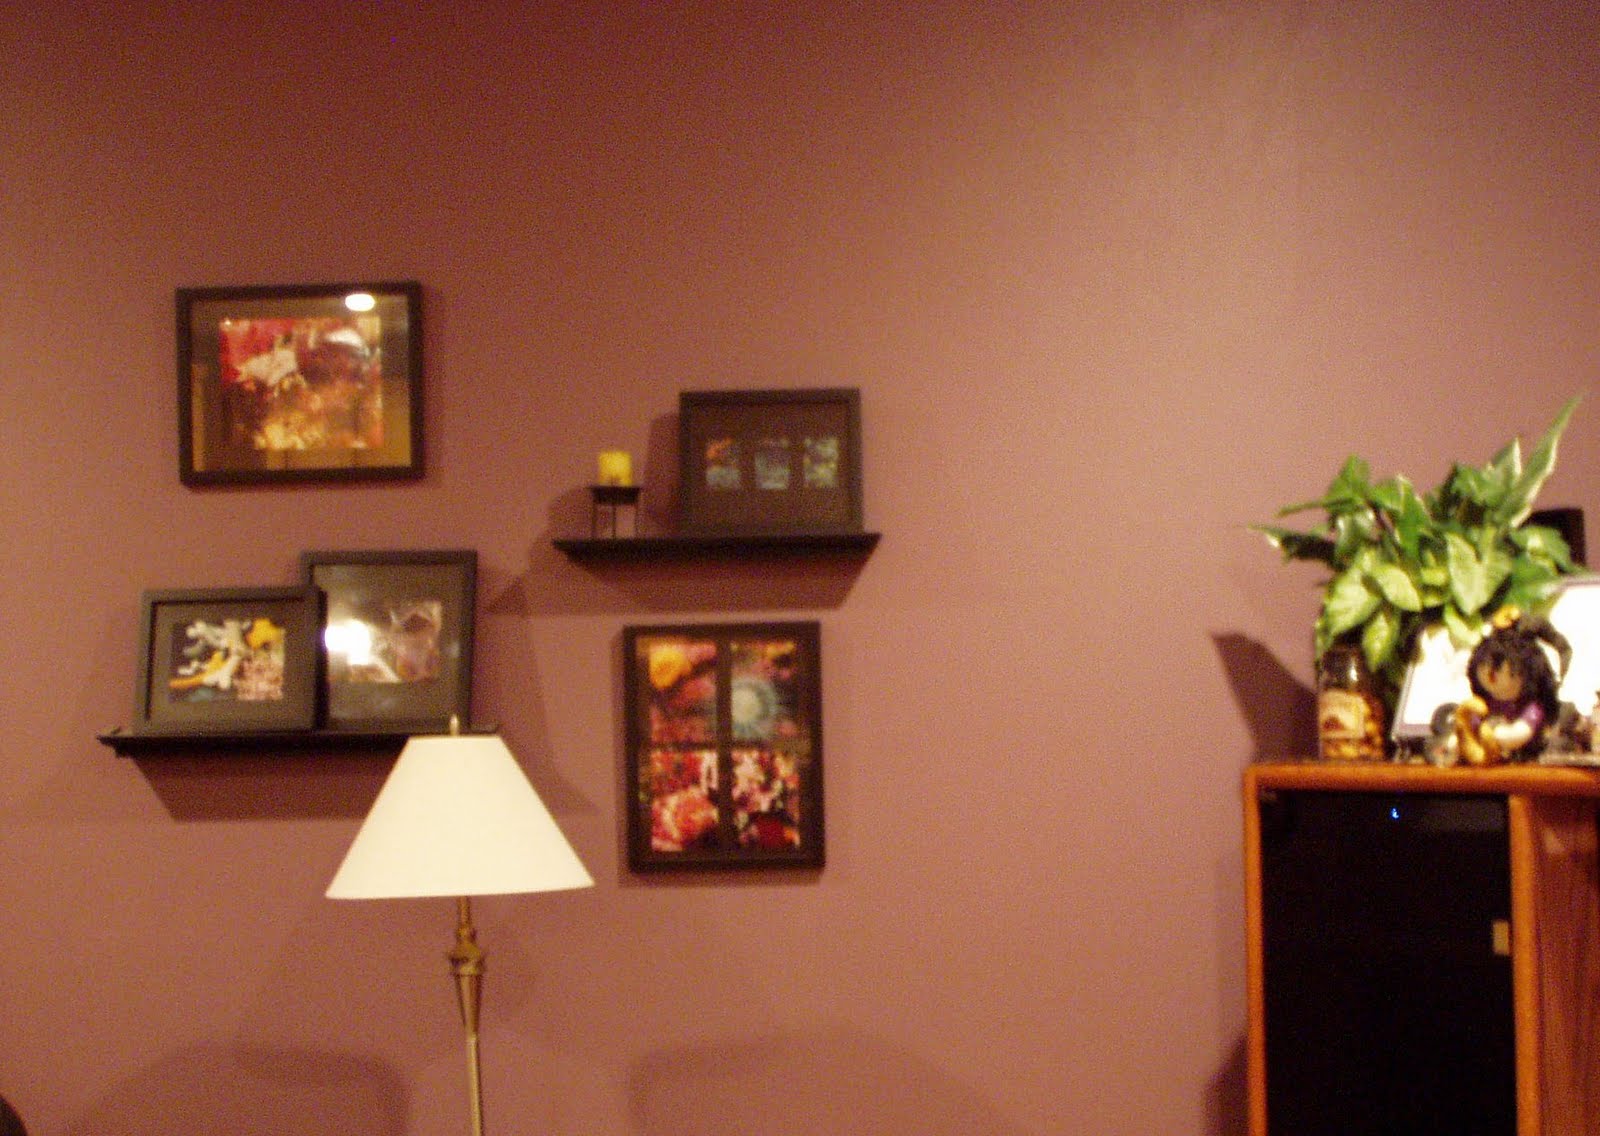 Saying that, I'm now confessing to my choice for my kitchen and family room...purple. Not bright or even dark, but a soft medium tone that balances out the wonderful wood tones of our cabinets and furniture. At night, the lighting casts a darker greyish tone that adds to the soft character of the room. And warmth...well, this is a color that really makes one feel cocooned in pure tranquility. And I can't find a color to accent in this room that doesn't look great with the purple.
When I made this transition, I was actively involved in a MOMS group, and had many get togethers with this group at my home. New in this home, I was always pain
Saying that, I'm now confessing to my choice for my kitchen and family room...purple. Not bright or even dark, but a soft medium tone that balances out the wonderful wood tones of our cabinets and furniture. At night, the lighting casts a darker greyish tone that adds to the soft character of the room. And warmth...well, this is a color that really makes one feel cocooned in pure tranquility. And I can't find a color to accent in this room that doesn't look great with the purple.
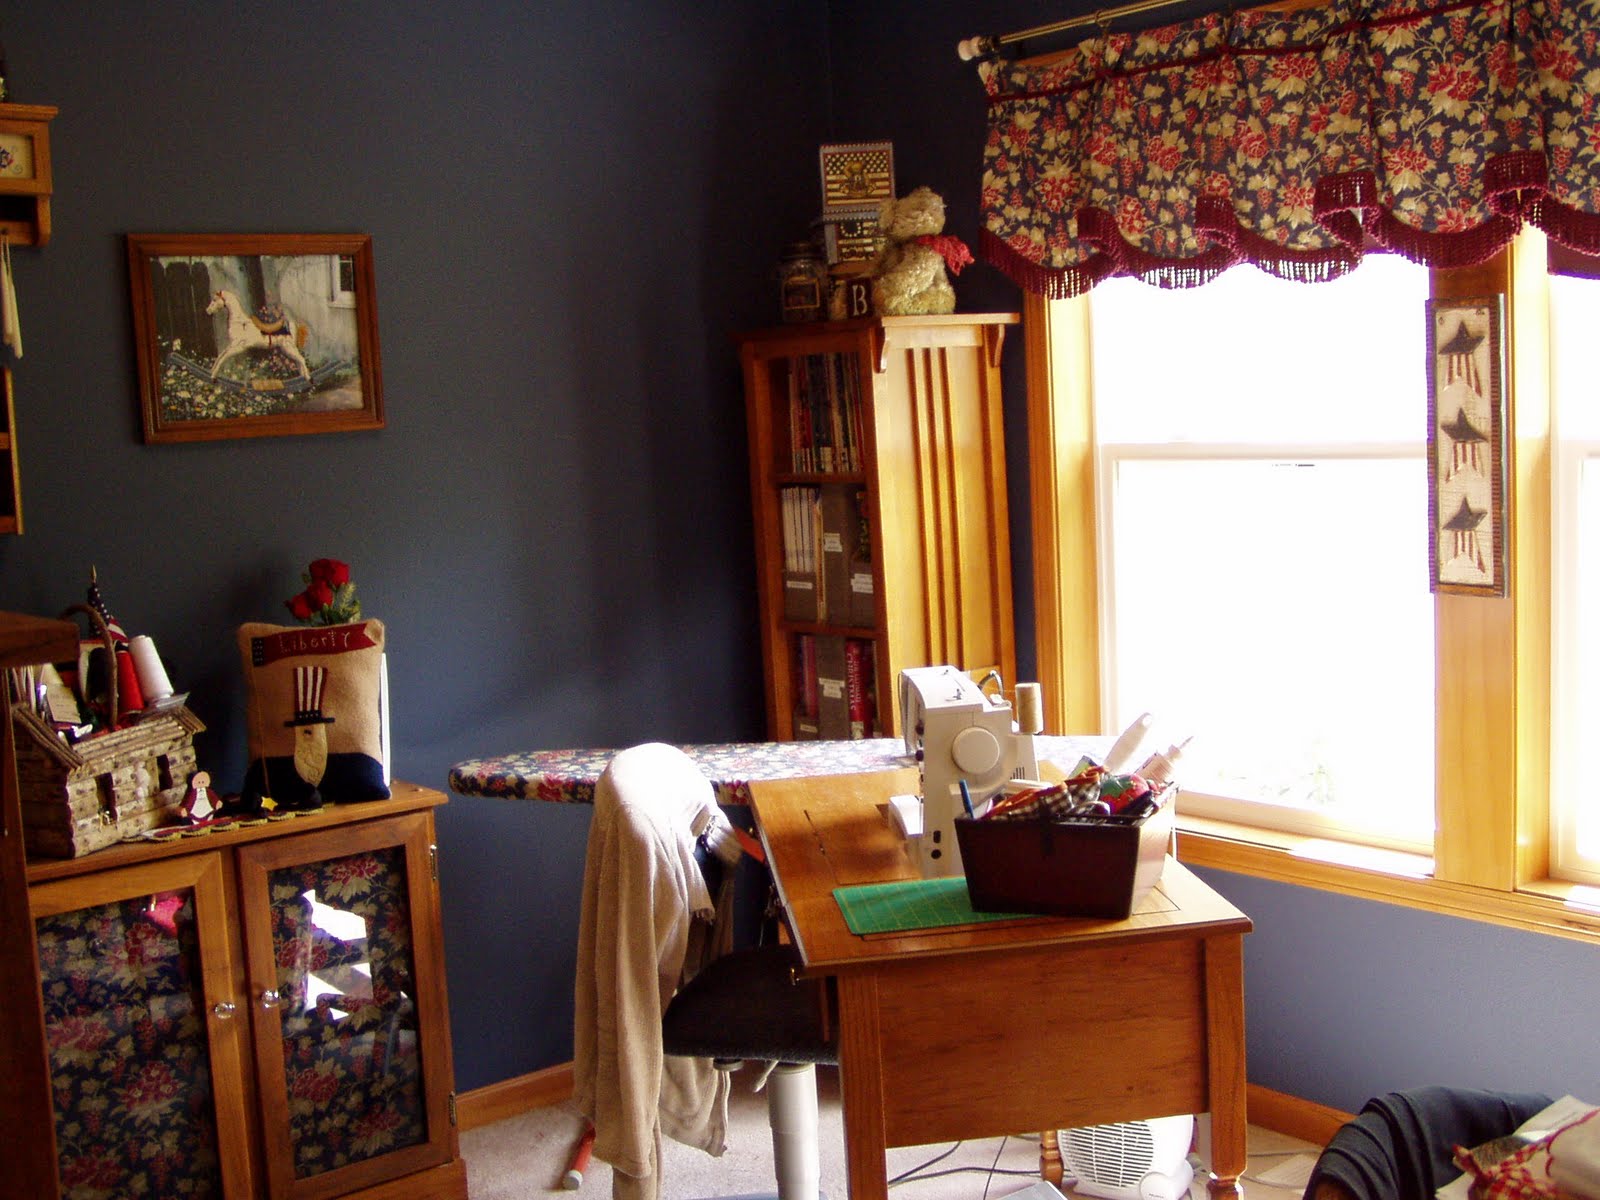
When I made this transition, I was actively involved in a MOMS group, and had many get togethers with this group at my home. New in this home, I was always pain ting a room anything other than white. So many of these women were taken back at the idea that I would actually choose purple as a base color, but once they saw it, they wanted to change their own homes. So many were just too afraid to try a color on their walls. But, this is the easiest, and really most inexpensive change you can make to your home. And, it's reversible! If you don't like it, change it again!
Decorating gurus will tell you that the right shade of black on the walls will have the same effect. The dark subtle tones of your walls can really bring out the beauty of your furniture and surroundings. It's an amazing transformation.
So, if you're looking to accent your beautiful primitives and furnishings with a backdrop that is fresh and different, consider purple. I've had it in this room for about 7 years now, and I haven't grown tired of the color at all. It works, it's versatile and it's me!
ting a room anything other than white. So many of these women were taken back at the idea that I would actually choose purple as a base color, but once they saw it, they wanted to change their own homes. So many were just too afraid to try a color on their walls. But, this is the easiest, and really most inexpensive change you can make to your home. And, it's reversible! If you don't like it, change it again!
Decorating gurus will tell you that the right shade of black on the walls will have the same effect. The dark subtle tones of your walls can really bring out the beauty of your furniture and surroundings. It's an amazing transformation.
So, if you're looking to accent your beautiful primitives and furnishings with a backdrop that is fresh and different, consider purple. I've had it in this room for about 7 years now, and I haven't grown tired of the color at all. It works, it's versatile and it's me!


.JPG)
.JPG)


.JPG)


