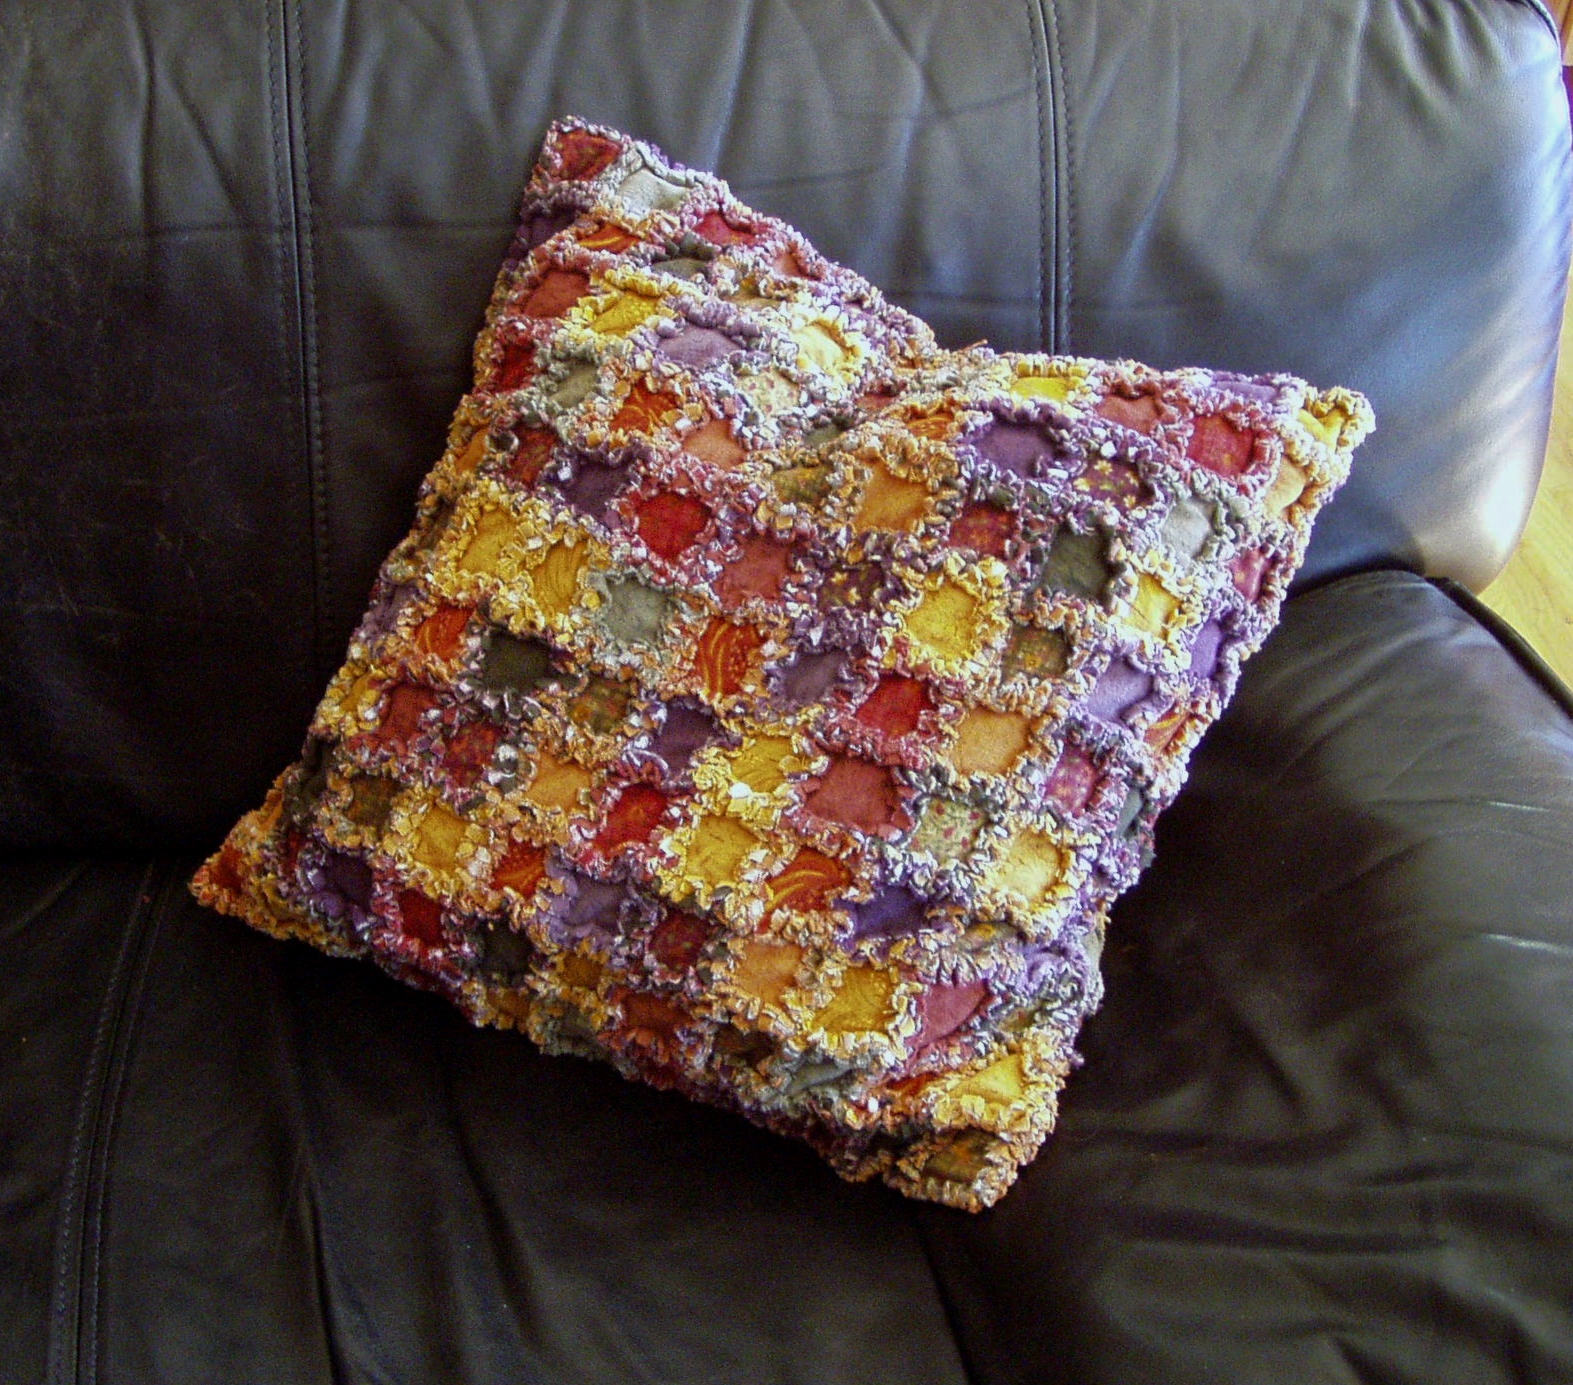
The finished cover fits a 16" pillow form. For this project, I cut 2 1/2" squares of the patterned and solid flannel fabrics, a total of 484 squares to cut! Each doubled up square was stitched into rows of 11 squares across, and then 11 rows in height were stiched to make up the front. This means you will use up 242 squares to make one side. Remember, the seams are 1/2" and are on the right side as you sew. No batting is needed for this project, so, there is no quilting of the squares to do either!

I did exactly the same to the back, except that I only stitched 5 rows together and then made a separate piece that was 6 rows stitched together. Between these two pieces, I sewed in a hidden zipper, which, after that was completed, made the two back sections into one piece. Then I stitched the two large squares together around the perimeter, clipped the exposed seams at about 1/4" intervals, washed and dried the piece and it was FINALLY done!
Since flannel can be such a 'shifty' material when sewn, these frayed edge projects are just so wonderful to make up. If your sewing isn't the straightest, or maybe you're just starting to quilt, a project like this produces a great result, hiding away any imperfections in those fluffed up ragged seams. Have fun creating!
This is an awesome project! I love it!
ReplyDeleteLinnea